
Common KTV Design Questions, Pitfalls I’ve Encountered and Answers
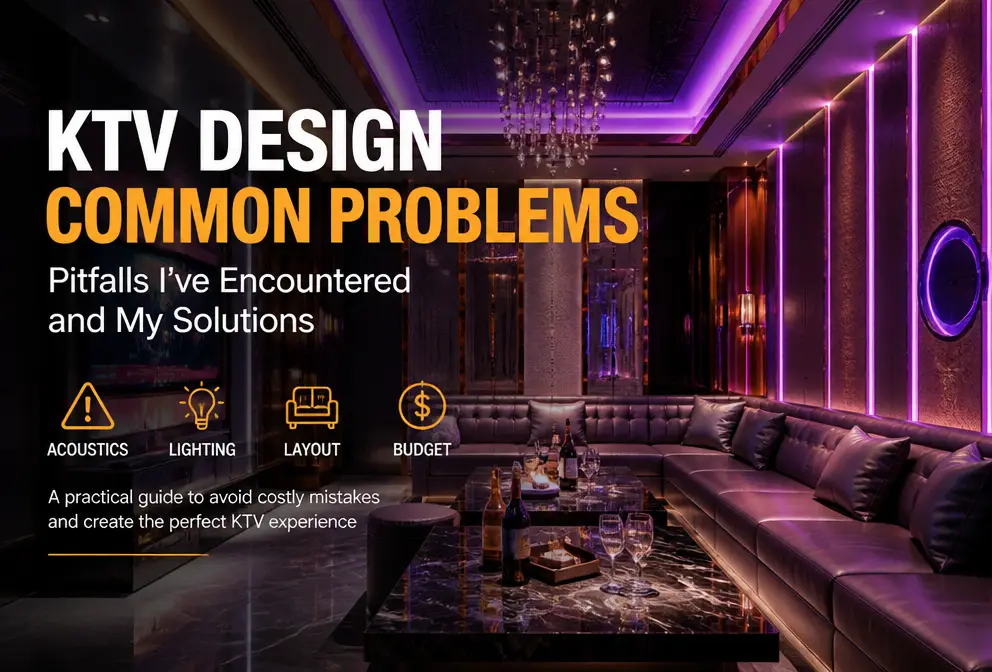
A friend messaged me late at night: “I want to open a KTV but I know nothing about design. Where should I start?” I replied with a meme and then spent half an hour on a voice call. After listening, he said, “Your tone doesn’t sound like a designer; it sounds like someone who’s just been battered by a KTV renovation.”
He was right.
In the past few years I’ve done KTV space design, from tiny street‑side mini rooms of a few dozen square meters to large venues with a dozen rooms. I’ve stepped in more pits than there are microphones in a karaoke booth. This article isn’t a textbook; it’s the handful of questions I get asked most often—how much budget is enough, why renderings never match the final product, can rushed work be salvaged, and can you still modify after completion. Behind each question is a real “crash” story.
How Much Budget Is Needed? Why Do Quotes Differ by Several Times?
First, answer the most headache‑inducing question: why do you get three completely different quotes from three companies?
Industry data from 2026 shows that the equipment cost for lighting and sound in a single KTV room is reasonably between ¥30,000 and ¥60,000. Note that this is only lighting and sound; it does not include acoustic treatment, hard‑finish work, or design fees. Many people immediately ask “how much per square meter?” – that’s a trap. The cost composition of KTV design and renovation is more complex than imagined: design fees (usually 5%–10% of total budget), lighting system (20%–30%), sound system (15%–20%), acoustic insulation (15%–25%), hard‑finish construction (25%–35%), LED screens and dimming systems (10%–15%). Adding all these up gives the complete budget.
A friend of mine, at the end of 2025, hired a company that quoted ¥5,000 per square meter for ten rooms. The renderings looked okay, but on opening night the dim lighting combined with heavy low‑frequency bleed from the neighboring room made guests leave after half an hour. Two months later he spent an additional ¥80,000 on rework; that ¥5,000‑per‑square‑meter plan didn’t even solidify the acoustic walls, and the wooden joists went straight to plasterboard. The money saved upfront was fully recovered later.
For more similar cases, see the NEBULA bar case analysis.
In my second project I used the VYLEN turnkey delivery process. They bundled lighting design, equipment selection, and installation commissioning into one workflow, eliminating the need for me to price‑compare, coordinate contractors, and deal with lighting companies separately. Not every project must go turnkey, but it at least prevents “hidden work” from being omitted in the quote—such as low‑voltage wiring, smart control reservations, and backup power locations, which are often not listed and become extra items later.
Industry trend analysis can be referenced in the 2026 bar renovation cost overview.
When selecting a quoting party, ask them to list the models, brands, and specifications of lighting and acoustic products in the quote. If they only say “use good ones” without concrete specs, walk away.
Why Do Renderings Look Cool but the Finished Product Never Matches?
The first project I worked on got me seriously misled by renderings.
The design firm’s pictures were so beautiful that I signed the contract on the spot. After construction, the lighting looked completely different from the renderings—the images showed warm, enchanting gradients, but the site had cold white and fluorescent green, like a hospital hallway with a disco effect.
Later I realized the core reason for the mismatch wasn’t construction but the lack of programming in the on‑site control system—lights were installed but never “brought to life.” The flowing shadows and color temperature changes seen in renderings require a smart control system to switch scenes and dim gradually. Unprogrammed lights are like market‑stall incandescent bulbs: they have quantity but no quality.
Another common issue is temperature temperature selection deviation. The design drawings specified 3000 K warm light, but the contractor bought 4000 K neutral light, saying “it looks similar enough.” The difference is huge—3000 K is warm yellow, ideal for a lazy, relaxed atmosphere; 4000 K is cooler and makes faces look gray in a karaoke booth. Beam angle is also a frequently overlooked detail; narrow beams are good for accent lighting, wide beams for wall washing, and mixing them creates depth.
About 30% of KTV renovation projects require at least one lighting adjustment rework during acceptance. After my first mistake, I learned to do a physical mock‑up on site: set up a real sample room, adjust color temperature, brightness, and beam angle before finalizing the plan. If the supplier can provide DIALux simulation, even better—software can pre‑calculate illuminance and uniformity distribution.
The video below shows the completed on‑site lighting effect, illustrating how design parameters manifest in a real environment:
For more inspiration, check out creative bar lighting ideas.
Seeing too many renderings can make you float; it’s better to look at actual completed cases. VYLEN’s commissioning process installs the lighting equipment first, then uses a smart control system to calibrate each scene— from warm‑up mode to high‑energy singing mode, running through brightness curves and color transition speeds for every scene. After this process, any on‑site deviation is usually within 5%, avoiding the 30% rework rate.
How Long Does KTV Renovation Usually Take? Can I Rush It for an Opening?
Many owners ask this with a similar tone: “I’ve already promised a client an opening date; can we compress it to two months?”
For a standard KTV with 10–15 rooms, the ideal schedule is 10–12 weeks. Broken down, it looks like this: preliminary design 2–4 weeks (including CAD drawings, lighting layout, MEP positioning), construction and renovation 3–8 weeks (including MEP work, moisture protection, acoustic wall installation, hard and soft finishes), lighting commissioning and acceptance 1–2 weeks. Each stage has hard, non‑compressible time—e.g., after acoustic wall filling with rock wool or acoustic felt, at least seven days of curing are needed to guarantee sound isolation. Lighting commissioning may look like pressing a few buttons, but DMX512 scene programming, brightness curve calibration, and interlock testing typically take three to five days.
Rushing under eight weeks almost always leads to failure. I saw a case where the owner tried to speed up opening by running MEP work and acoustic wall construction in parallel; the electrical routes pierced the acoustic layer, and on opening night the neighboring room complained about excessive noise, leading to an immediate power shutdown for remediation. In another rushed case, the lighting system was only basic illumination without programmed smart scenes; after opening, guests said “the lighting is too harsh,” and the venue had to close for two days for re‑programming.
However, AI‑powered lighting preview technology in 2025 can indeed save time during the design phase—by previewing different lighting modes through 3D simulation, you reduce repeated design revisions. There is a hidden risk to consider; see the discussion on the pitfalls behind AI lighting previews that save three months of renovation. Remember: accelerating design is fine, but wall curing, cable routing, and other physical timelines cannot be compressed. Every meter of line run inside a wall determines whether you’ll need to tear down walls after opening.
Can It Still Be Modified After Completion? Especially Lighting Atmosphere
This is the most practical question because many KTV operators think about “making the atmosphere more upscale” after six months of operation.
The answer has two layers.
Changing the lighting system is relatively easy. If you installed dimming rails and a smart control main unit during the initial build, swapping fixtures, adding smart modules, or adjusting scene logic requires minimal work—just two to three electricians, and no ceiling structure changes. Replacing fixtures without rewiring can keep costs to 15%–25% of the original lighting budget.
But if you need to rewire or disturb acoustic walls, the cost skyrockets. Moving acoustic walls means rebuilding the acoustic structure, restoring hard finishes, soft finishes, wallpaper, and decorative strips—all of which double the budget. Rewiring is even messier—KTV ceilings are usually packed with lighting cables, speaker cables, HDMI, and backup power lines; pulling a new line after removing an old one costs more in labor than the cable itself.
I participated in a project where, after opening, the owner wanted “talk‑worthy lighting” and planned to add an RGBW light strip on the background wall. The contractor discovered that the original build had no reserved smart wiring, so installing it required a new conduit from the ceiling. The solution was an exposed cable trunk; the effect was achieved, but the visible trunks ruined the original aesthetic.
This reminds me of the Shenzhen NEBULA bar case. Their early design reserved smart lighting circuits and backup power positions, so later atmosphere upgrades only needed new fixtures and updated scene presets, and the work took just three days. Early wiring is truly a “regret‑cure”—spending an extra ¥2,000 on wiring reservations can save ¥20,000 in future wall demolition.
How to Make the KTV Atmosphere “Look Expensive” Without Consuming Too Much Power?
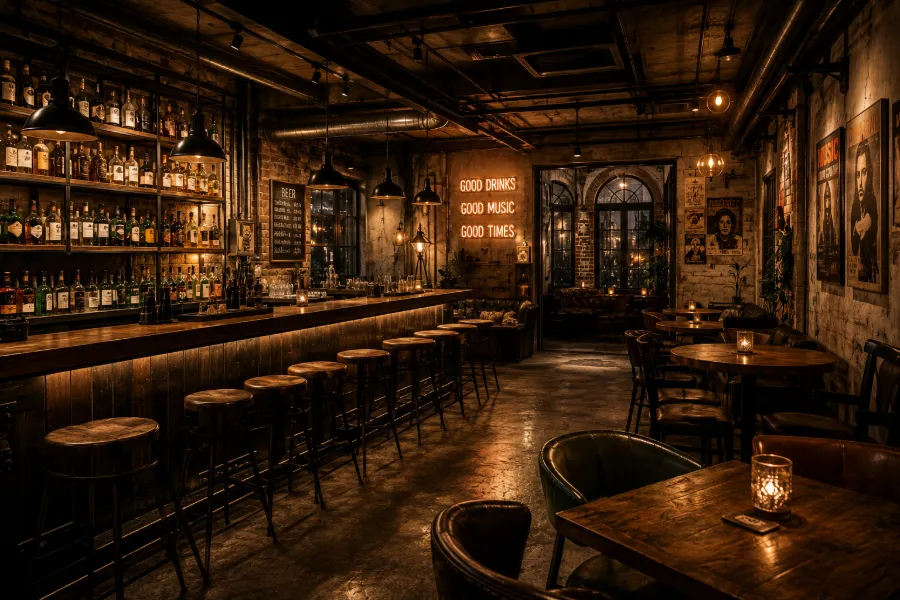
Many people think a “luxurious” atmosphere equals more lights. In the projects I’ve done, the most “expensive” booth actually had only 12 light fixtures—compared to a neighboring booth with 26 fixtures, the effect was worlds apart. The secret isn’t quantity; it’s layering.
Layered lighting consists of three tiers: base lighting (main lights, wall washers) for overall brightness; atmosphere lighting (RGBW strips, spotlights) for color and depth; dynamic lighting (strobe, moving heads, smart scene lights) for rhythm and motion. Good design first uses base lighting to illuminate the space, then atmosphere lighting to set the mood, and finally dynamic lighting for the finishing touch. The typical proportion is roughly 4:4:2—this 2% dynamic lighting is the core of the “expensive look.”
Another money‑saving key: smart scene programming is cheaper than installing more lights. Smart dimming can automatically adjust brightness based on time of day and song type—slow songs drop to 40% brightness with warm color; fast songs rise to 90% with cool dynamic colors. Compared to full‑power illumination, smart dimming can cut electricity consumption by about 40%. Over a year, that saving can fund a few new fixtures.
Color temperature pairing also deserves a note. You don’t need to turn every light into a disco hue to look pricey. In a booth, use a 3000 K warm yellow main source, a variable RGBW background strip, and keep dynamic lights at 10%–20% of total brightness—this feels upscale without being “blinding.” Looking at modern bar lighting design inspiration collections, you’ll see that truly high‑quality lighting always employs layered control.
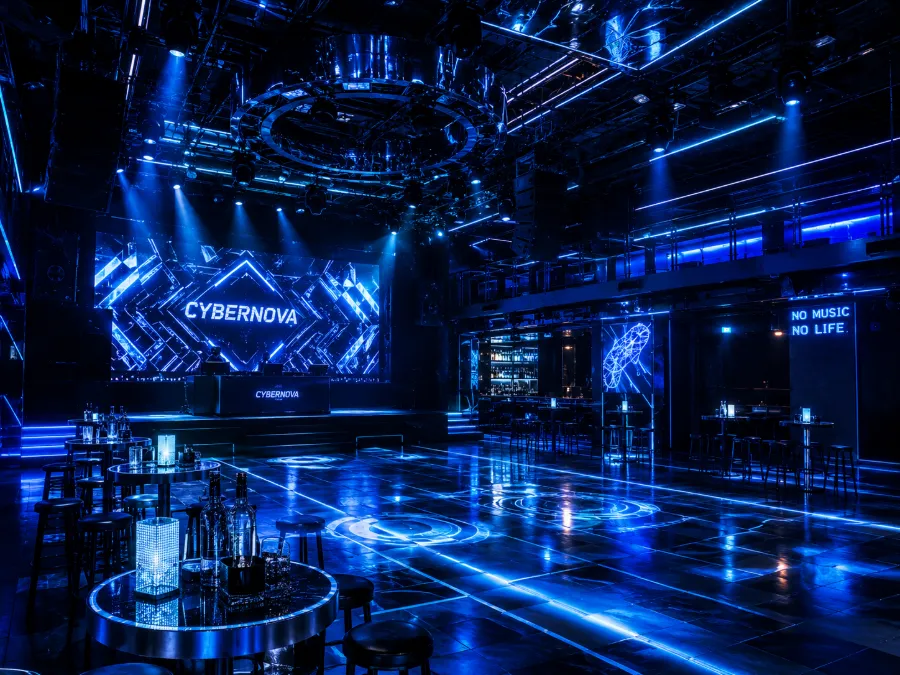
Also, when selecting fixtures, prioritize low‑power LED solutions. A 10 m² booth with 8 m of RGBW strip (12 W per meter) plus four 10 W spotlights and one 15 W dynamic light totals under 200 W. Switching to traditional tungsten lamps and old‑school strobes easily jumps to 500 W. Over time, the electricity cost difference is obvious—and LED lifespans usually exceed 20,000 hours, so you won’t be swapping them every six months.
FAQ
Q1: Does KTV design require a professional lighting designer?
Yes. It’s not that you can’t do it yourself, but a lighting designer can do three things a regular interior designer can’t: DIALux illuminance simulation (calculating brightness for every corner), color temperature calibration (ensuring everyone’s skin tones look good), and DMX smart programming (making the lights actually “move”). A regular home‑design designer handling KTV lighting will almost certainly need rework after opening.
Q2: Which is more troublesome—renovating an old KTV or building a brand‑new one?
Renovating an old KTV is far more troublesome. A brand‑new build starts from scratch, making the schedule more controllable; an old renovation must strip existing décor, inspect aging wiring, and address previously unaddressed acoustic issues—often the original acoustic wall is incomplete, or water pipes are corroded. In practice, old‑renovation timelines are typically 30%–40% longer than new builds.
Q3: What if the rendering and the actual result differ too much?
Before signing a contract, ask the designer to provide renderings from at least three angles and three lighting modes, with color temperature values and fixture models annotated. Conduct a sample‑room verification before construction—this isn’t a waste of money; it prevents collective rework later. If the issue is the control system, on‑site debugging usually resolves most discrepancies, but you’ll need an extra 2–3 days for the debugging period.
Q4: Is there a reasonably priced “mid‑range configuration” recommendation?
For a 100–200 m² KTV, a budget of ¥150,000–¥250,000 (lighting + sound + acoustics + hard finishes) is typical. Rough allocation: lighting system ¥50,000–¥80,000 (including smart control and programming), sound system ¥30,000–¥50,000, acoustics ¥40,000–¥60,000, with the remainder for hard and soft finishes. Choose LED fixtures under 200 W, preferably models with triac dimming for future upgrades.
Q5: How should lighting be arranged in a small booth to create a sense of space?
Small booths suffer from “full‑ceiling lighting” that feels oppressive. The right approach: main light color temperature 3000 K warm (don’t exceed 3500 K), install only 3–4 wall‑washing fixtures on the ceiling to illuminate the four walls; use an RGBW strip on the background wall for a soft gradient, keeping brightness at 40%–50%; add one narrow‑beam moving head for dynamic accents. This makes the space feel larger while maintaining a high‑end vibe.
Share Article