
How to Build an Immersive Live Streaming Room with Lighting and Audio
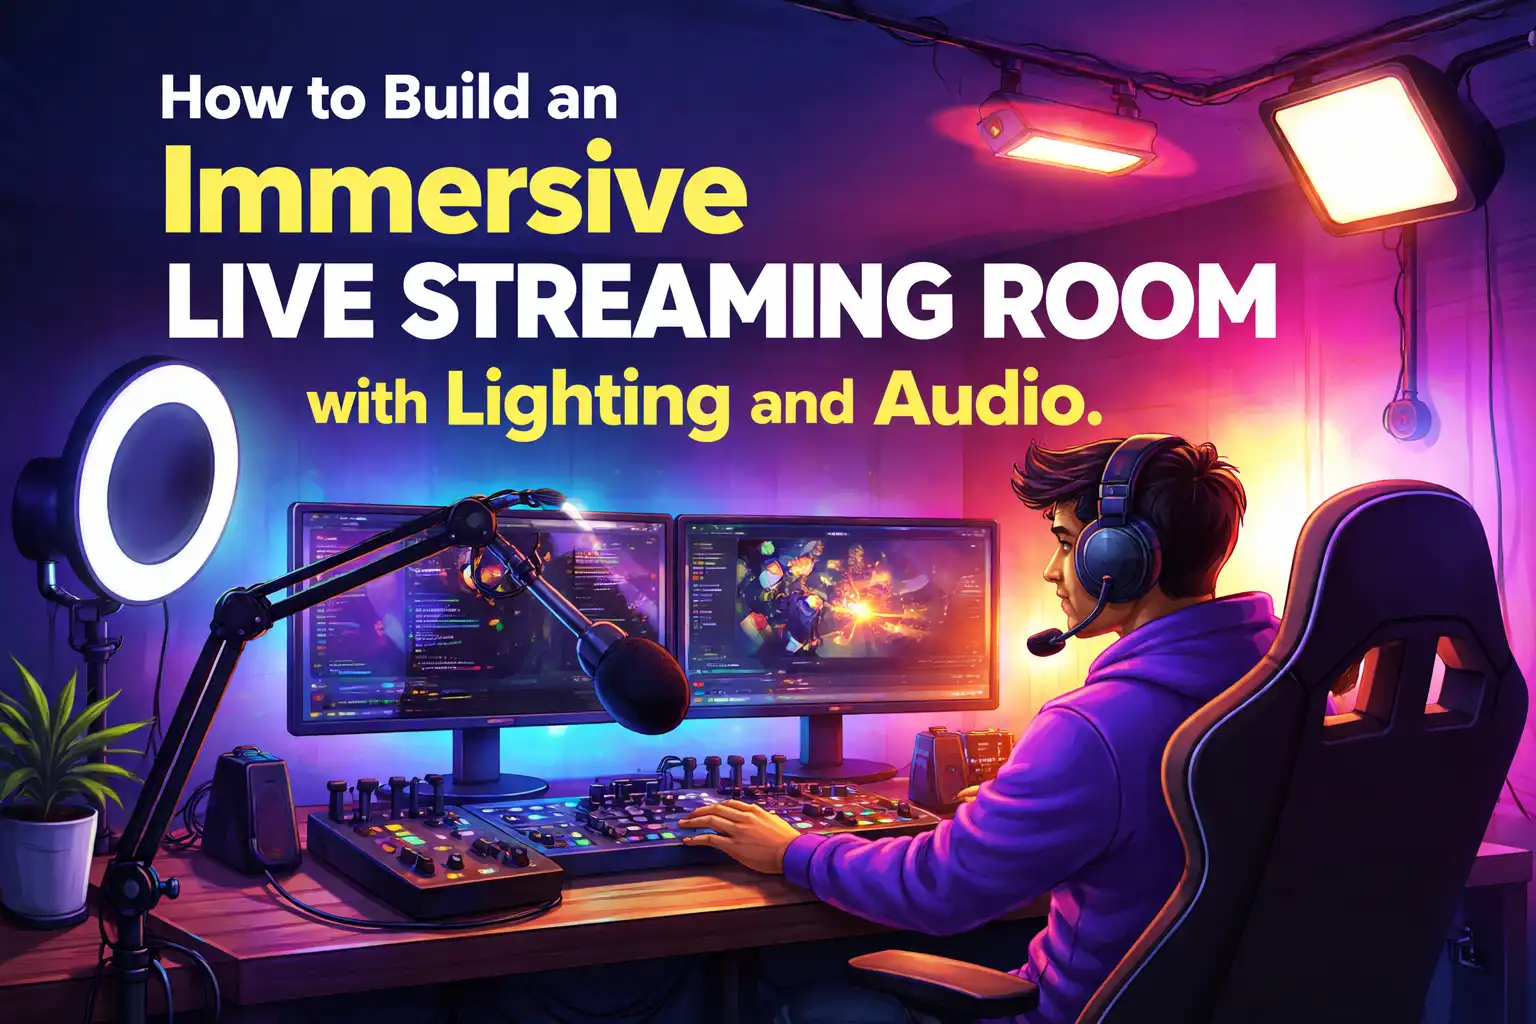
The pattern is painfully common. Someone spends $1,500 on a mirrorless camera, picks up a Shure SM7B microphone, sets everything up, and within a week the viewer count has flatlined. The camera is sharp, the mic picks up every detail—but the video looks like a mugshot under fluorescent office lighting, and the audio sounds as if the talent is broadcasting from a parking garage. The equipment budget was generous, but the room itself was never treated as a studio.
The problem isn’t the gear. It’s that lighting and audio are treated as separate purchases rather than a single environmental system. Visual depth and acoustic clarity are perceived together within the first seconds of a stream. If either is off, the viewer feels the space is amateur—and they leave. Building an immersive live streaming room means designing that system deliberately, from the physical layout of the room to the control logic that ties lights and sound together.
Understanding the Basics of Immersive Live Streaming Design
Immersion in live streaming comes down to one thing: making the viewer forget they are watching a screen. That requires visual separation between the subject and the background, a room that sounds clean rather than hollow, and a mood that matches the content. These three elements—depth, clarity, atmosphere—are not independent. A room that sounds echoey will make even the most cinematic lighting feel cheap, and a flatly lit face will undermine a pristine audio signal.
The core building blocks are straightforward on paper. On the lighting side, you need at least four layers: a key light to illuminate the face, a fill light to soften shadows, a backlight to separate the subject from the background, and accent lighting to add personality. On the audio side, the chain runs microphone → audio interface → software, but the weak link is almost always the room itself—hard floors, bare walls, and untreated reflections. Industry estimates suggest that 70–80% of a viewer’s engagement is determined by audio and visual quality within the first 10 seconds. A streamer might (watch this example of moody lighting design) and realize that the atmosphere itself is what holds attention, not the resolution of the camera.
The mistake many make is treating the physical space as incidental. It is not. The room is the studio, and everything in it—wall color, furniture arrangement, distance from reflective surfaces—affects both the image and the sound.
Lighting Strategies for Depth and Mood
The standard starting point is a three-point lighting setup, and for good reason. A key light placed at 45 degrees to the subject, a fill light on the opposite side at lower intensity, and a backlight behind the subject pointing toward the back of the head or shoulders. This configuration reduces shadows on the face by roughly 60% compared to a single overhead source, and it creates the depth that makes a stream feel three-dimensional rather than flat.
Placement matters more than the price of the fixture. A common mistake is using a ring light as the sole source. It works for social video, but it produces a flat, even light that eliminates shadows entirely—which eliminates facial depth. A streamer who wants to look natural needs shadows, just not harsh ones. That is why fill lights are dimmed, not turned off.
Beyond the three-point base, mood is set by color temperature and accent lighting. Warm tones around 3200K suit chill talk streams or late-night shows, while cool cyan around 5600K fits fast-paced gaming. RGB LED panels or bi-color softboxes allow quick shifts between scenes. Some streamers run a slow color cycle on the backlight throughout the broadcast. This is not just decorative—changing the color temperature mid-stream can subconsciously reset the viewer’s attention and reduce the likelihood of them tabbing away.
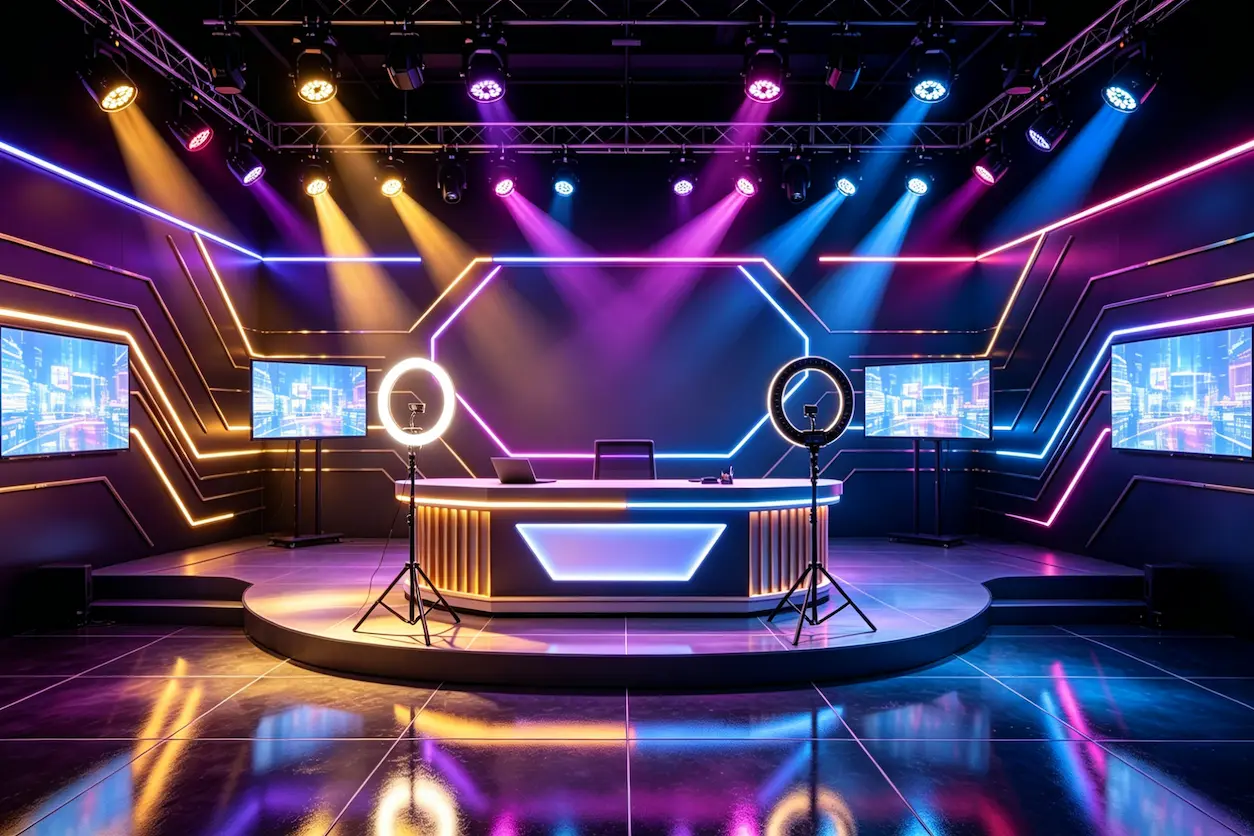
Hardware specifics: panels from Nanlite, Aputure, or Elgato Key Light are common. Diffusers soften the beam, barn doors block spill onto the background, and grid attachments narrow the beam for precise accent lighting. Light stands should be sturdy enough not to wobble when someone walks past.
Audio Setup for Crystal-Clear Transmission
Microphone choice depends entirely on the room. A dynamic mic like the Shure SM7B or Rode PodMic is forgiving in untreated spaces because it rejects off-axis sound. A condenser mic like the Rode NT1 picks up more detail but also captures every echo and background hum. If the room has hard floors and bare walls, a condenser will sound harsh within seconds of the stream starting.
Placement is simple: six to eight inches from the mouth, slightly off-axis so that plosives (p, b sounds) hit the capsule indirectly. The closer the mic, the more the proximity effect boosts low frequencies, which can make the voice sound muddy. A boom arm keeps the mic off the desk and eliminates vibrations.
Room acoustics are where most setups fail. A room with untreated surfaces—tile, drywall, glass—produces reflections that add 200 to 300 milliseconds of reverb. That delay smears the voice and makes it hard to understand, even if the microphone itself is excellent. Acoustic panels at the first reflection points, a rug on the floor, and bass traps in corners solve most of the problem. A portable sound isolation booth can work for streamers who are renting and cannot mount panels.
The audio interface, such as the Focusrite Scarlett series, handles gain staging. The rule is to set the gain so that normal speaking peaks at around -12 dB, then use a noise gate to cut the silence between sentences, and a compressor to even out volume jumps. Cloudlifters or inline preamps are only necessary for very low-output mics like the SM7B.
| Component | Budget Option | Professional Option | Purpose |
|---|---|---|---|
| Microphone | Audio-Technica ATR2100x | Shure SM7B | Voice capture |
| Audio Interface | Focusrite Scarlett Solo | Universal Audio Apollo | Preamplification |
| Acoustic Treatment | Foam panels | Bass traps + diffusers | Echo reduction |
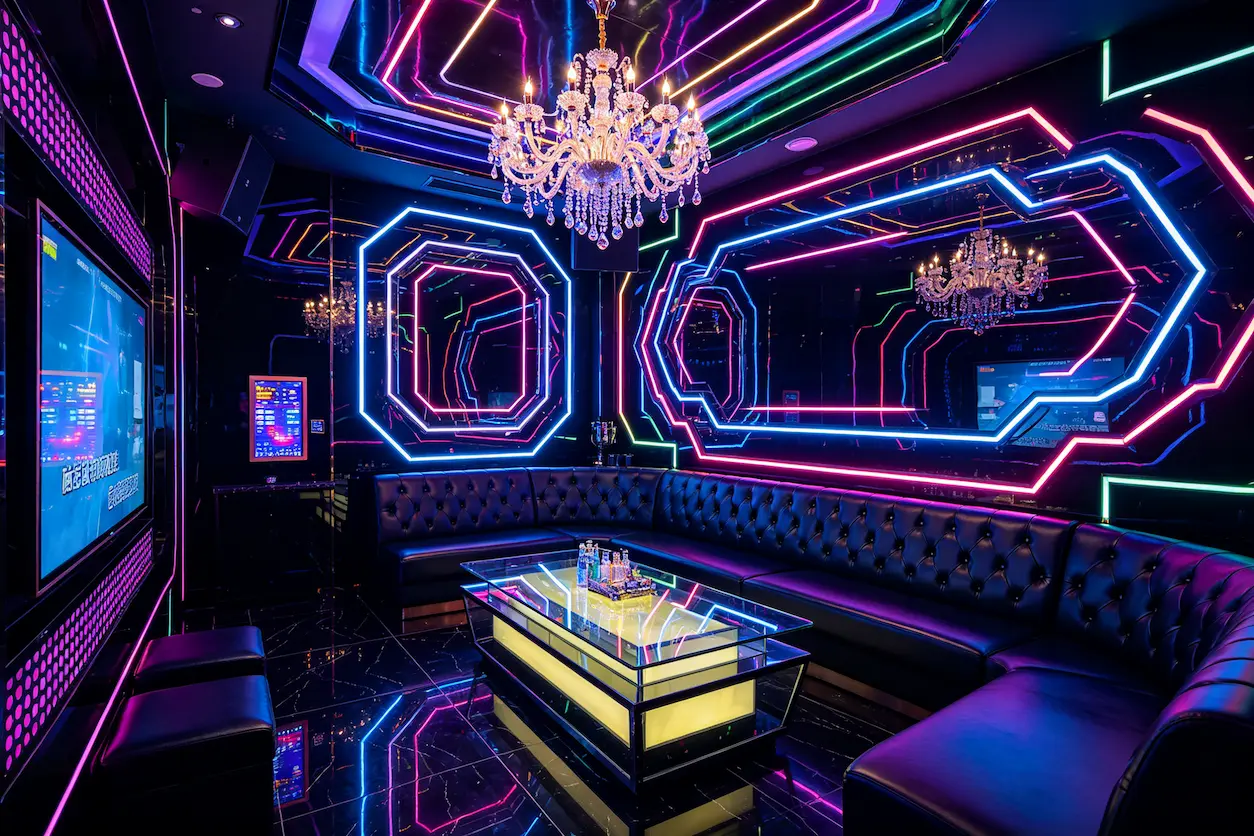
One subtle observation: the visual environment affects perceived audio quality. Several streamers have noted that when the background lighting has a slight amber or warm hue, viewers describe the audio as “warmer” even when the same microphone and settings are used. The perception of clarity is not purely acoustic—it is conditioned by what the eye sees.
For inspiration on moody lighting setups that work in commercial spaces, (browse more bar lighting ideas for inspiration) even though those designs target bars rather than home studios. The principles of accent lighting and shadow play transfer directly.
Integrating Lighting and Audio for Seamless Control
Once the lighting layers and audio chain are in place, the practical challenge becomes managing them during a live stream. Fumbling with a dimmer remote or opening a control app mid-sentence breaks the flow. The solution is unified control: lighting presets triggered by streaming events, audio scenes that change with the content.
A typical integration starts with a controller like a Stream Deck or a DMX console. The streamer configures presets for different moments: a “starting soon” scene with dim, slow-pulsing accent lights and no key light; a “live” scene with full three-point lighting; a “BRB” scene that dims the face lights and boosts background color. These presets can be triggered manually from a keypad or automatically via OBS scene transitions.
The audio side ties in through the same logic. When the streamer goes to a break scene, a noise gate can lower the microphone sensitivity to avoid picking up typing or sibilance. When a donation alert fires, a compressor sidechain can duck the stream music so the alert sound cuts through.
Companies such as VYLEN specialize in turnkey lighting and audio integration for live streaming rooms, handling everything from design to installation. Their approach treats the room as one system rather than a collection of products, which avoids the compatibility headaches that come from piecing together DMX controllers, USB interfaces, and software that was never designed to communicate.
Streamers who implement automated scene switching report about 40% fewer on-air errors per session—missed cues, wrong lighting, audio that was too loud or too quiet. Integration is not a luxury; it is the difference between a setup that requires constant babysitting and one that lets the streamer focus on content.
Common Pitfalls and How to Avoid Them
The most expensive mistake is buying a high-end microphone without addressing the room. A condenser mic in an untreated bedroom with tile floors and a glass desk will produce a long, hollow echo. Viewers may not name the problem, but they will stop watching. In one real scenario, a streamer spent $2,000 on a Rode NT1, a Focusrite interface, and a cloudlifter, then launched the stream to find that the room added so much reverb that the voice sounded distant. Retention dropped from 12 minutes to under 3 minutes on the second stream. The mic was fine. The room was the problem.
Working with an integrator such as VYLEN can preempt these pitfalls by providing a unified design and commissioning service that treats the space as a whole rather than leaving the streamer to guess which panels to buy or how to position lights.
Another common failure: overhead lighting alone. A ceiling light directly above the streamer casts shadows downward into the eye sockets and under the chin, making the face look gaunt. The solution is simply to turn off the overhead and rely on the key and fill lights placed at head height.
Cable management is often ignored until it becomes a problem. Loose XLR cables near the desk pick up electrical hum from power adapters. A ground loop injects a low-frequency buzz that a noise gate cannot fully remove. Running audio cables away from power cables and using ferrite chokes on USB cables eliminates most of that noise.
Statistics from streaming community surveys indicate that 60% of new streamers report audio echo or hiss as their top complaint within the first week of going live. The root cause is almost always untreated surfaces or incorrect gain staging. Raising the microphone gain to compensate for a quiet voice also raises the noise floor, making the hiss audible during pauses. The fix is to bring the mic closer, not to turn up the preamp.
FAQ
What is the minimum budget for a decent live streaming lighting setup?
Around $300 can get you a basic three-point LED setup: two softbox panels for key and fill, plus a small RGB strip for backlight. Elgato Key Lights or Yongnuo panels in that price range provide enough output for a typical desk setup. Focus spending on the key light first; a single good panel with a softbox beats three cheap bare bulbs.
Can I use regular LED bulbs for streaming lighting?
Household LED bulbs work as fill or accent but not as a key light. They lack dimming range, have fixed color temperatures, and often flicker at frame rates near 30 or 60 fps. The flicker may not be visible to the eye but will show up as rolling bands in the video. Use bi-color or RGB LED panels designed for video instead.
Do I need soundproofing or acoustic treatment for a home live stream?
Soundproofing is rarely necessary unless you have loud neighbors or street noise. Acoustic treatment is the priority. Panels on the walls at reflection points and a rug on the floor reduce reverb dramatically. Soundproofing blocks noise from outside; treatment controls echo inside the room. Most home streams need treatment, not soundproofing.
How do I reduce echo without spending on panels?
Move the stream setup into a carpeted room with soft furniture—a couch, curtains, bookshelves. Fill the space with soft objects. A thick blanket draped behind the streamer’s back acts as a temporary absorber. Keep the microphone close to your mouth (6 inches) and set a tight noise gate threshold so the microphone only opens when you are speaking. This cuts out the empty reverb between sentences.
Share Article