
Designing a Luxury KTV from Scratch: Behind the Scenes of a Real Case
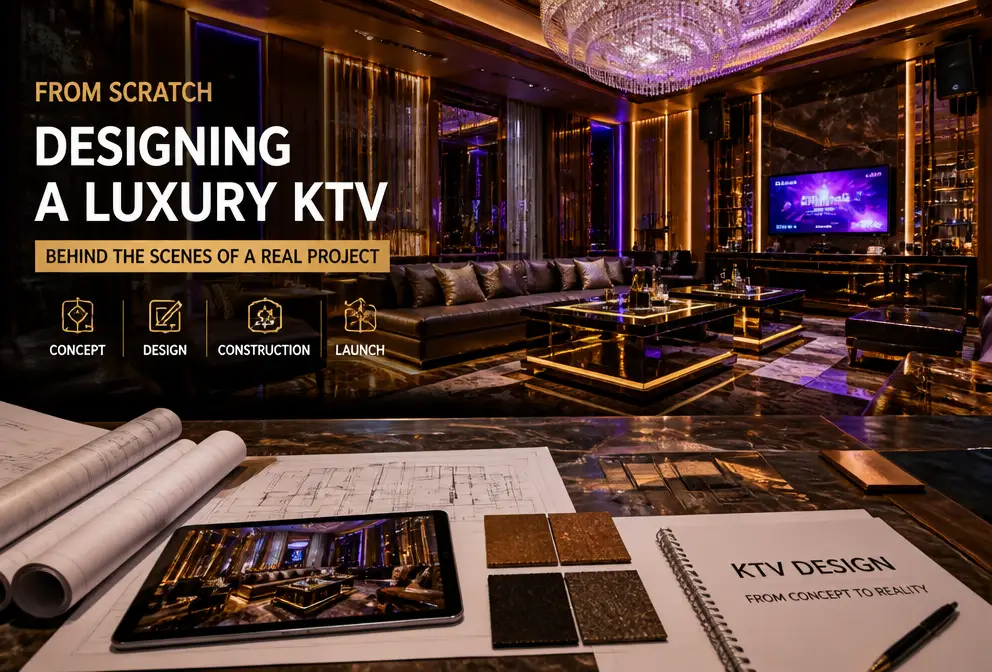
When I first stood in that 2,000‑square‑meter shell, echoes filled my ears and thick cement dust covered my feet. The owner pointed at the empty space and said, “Two months from now, every private room here will make people want to pull out their phones and take pictures.” I looked around—no walls, no lights, just exposed pipes. This was the starting point of a luxury KTV. This article doesn’t discuss how beautiful the concept drawings are; it tells the real process from laying the first keel to the opening day when guests lined up, the pitfalls we stepped into, and the lessons we learned.
Whether a luxury KTV design can be realized hinges not on flashy renderings but on whether every decision made during the raw‑shell‑to‑opening phase can stand up to construction and operation tests. We spent two months on 36 rooms, supervising construction ourselves, tweaking equipment ourselves, and went through three ceiling re‑works, two lighting‑scheme overhauls, and a night‑time overtime until 4 a.m. for scene switching and optimization.
Step 1: The “Soul Sketch” in the Shell – Finding Spatial Proportions in an Empty Hull
On the day we received the shell, I walked the space ten times with a tape measure and a CAD floor plan. Two thousand square meters sounds huge, but once you start drawing you realize every decision is a subtraction. Fire codes require a corridor net width of at least 1.4 m; the client wanted a 2 m wide grand corridor, but each extra meter meant one fewer large room. That night I almost considered switching to selling skewers.
The design team produced five layout versions within three days, finally choosing the one where the average guest path length does not exceed 40 seconds. This number wasn’t guessed—it came from running a flow‑analysis tool on several alternatives and simulating peak‑hour traffic. We found that if a guest takes more than 40 seconds from entry to their room, they tend to stop in the corridor to look at their phone, causing congestion.
| Layout Version | Number of Rooms | Longest Guest Path (seconds) | Corridor Width (m) | Reason for Rejection |
|---|---|---|---|---|
| Version A | 38 | 52 | 1.2 | Does not meet fire code |
| Version B | 36 | 48 | 1.5 | Too many path corners |
| Version C | 34 | 35 | 1.8 | Too many rooms lost |
| Version D | 35 | 40 | 1.6 | Adopted |
| Version E | 33 | 32 | 2.0 | Client budget rejected |
Interestingly, the final Choice D was not the most spacious, but it struck a balance between room count and guest experience. In luxury KTVs, the most overlooked design bottleneck isn’t lighting or sound—it’s the corridor. Once the flow is blocked, even the most dazzling rooms are useless. For further discussion on spatial layout, see this NEBULA bar case study with an average of 300+ guests per day, which explains similar planning logic. For lighting‑and‑space integration, this article on Bar & KTV lighting design: creating immersive entertainment spaces with light and shadow also offers many references.
Step 2: Lighting Is Not “Just Install and Done” – Dimming Until I Questioned My Life
After the spatial framework was set, the most torturous part began. Each of the 36 rooms required at least four lighting modes—sing‑along, chat, party, and cleaning. We used the full‑stack lighting control system from VYLEN, which theoretically lets the DMX512 protocol combine spotlights, wash lights, and LED color lights into a single central console for one‑click scene changes. Yet theory quickly turned into a swamp.
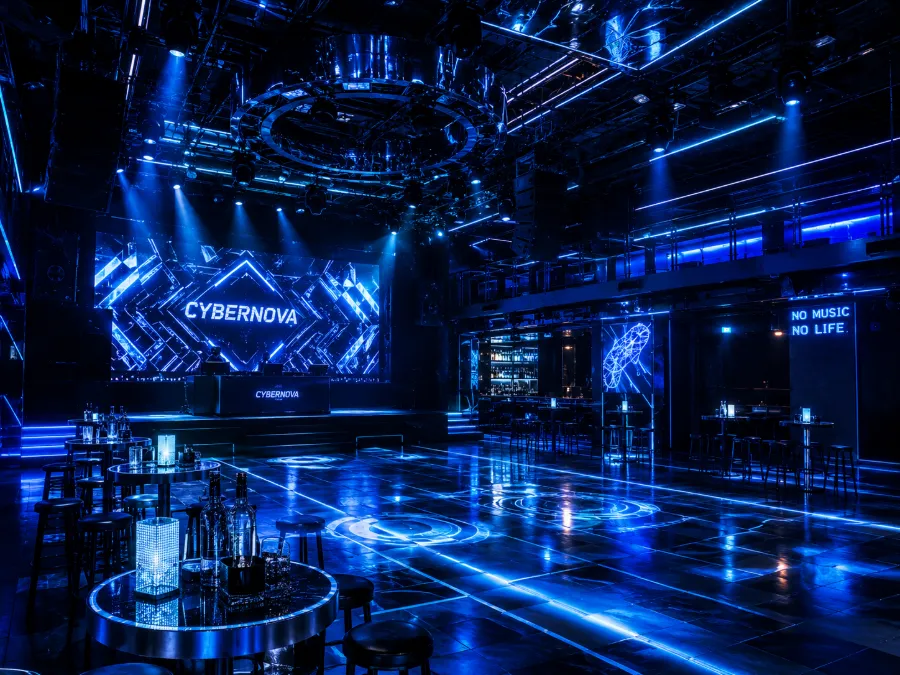
The first week of installation went relatively smoothly: spotlights mounted on walls, wash lights tucked into soft‑cover seams, LED color lights hidden in ceiling slots—all matching the design drawings. But when we started writing scene presets, problems exploded. The dimming curve of the wash lights didn’t match the initial brightness of the spotlights—within a “chat mode” preset, the wash lights were already at 30 % while the spotlights were just flickering. We had to adjust the dimming curve parameters for each fixture individually; across 36 rooms we wrote more than 200 scene presets, and debugging took a full two weeks.
Another memorable detail: a colleague testing the central controller’s response discovered that when a room switched from “party mode” to “sing‑along mode,” a few spotlights would flash briefly before turning off. It took two days to trace the cause—a DMX channel address was mistyped by two digits in the command queue. This low‑level error appeared six or seven times across the 200+ presets. After fixing it, the whole system’s scene switching became much smoother.
Guests perceive “atmosphere” more from the rhythm of lighting changes than from brightness. A 0.3‑second versus 0.8‑second delay decides whether a guest will press the next song. We spent another two weeks fine‑tuning this latency.
Step 3: The “Epic Battle” Between Acoustics and Visuals – Compromises No One Tells You About on‑Site
By the third week, the acoustic consultant and lighting designer were arguing on site. The flashpoint was the ceiling—lighting needed holes to mount spotlights, while acoustics demanded a continuously sealed ceiling for sound isolation. Both sides held firm; the project manager stepped in and ruled: prioritize sound isolation, then redesign the lighting installation.
That single decision led to three ceiling re‑works and an extra five days of schedule. The first ceiling version reserved all lighting positions but failed acoustic tests; the second added thicker acoustic wool but left insufficient heat‑dissipation space for spotlights; the third finally found a barely workable solution—a separate lighting box structure inside the ceiling that didn’t compromise acoustics while securing the fixtures.
But the compromises didn’t stop there. Soft‑cover walls were another minefield. The design called for wash lights to be installed level with the soft‑cover surface, but in reality the soft‑cover thickness varied, causing some fixtures to protrude and others to sink. We ended up abandoning perfect symmetry in certain areas, adding individual shims for each fixture. The visual result wasn’t as flawless as the drawings, but the acoustic performance was preserved.
Such compromises are ubiquitous in implementation. For example, LED screens and speaker reflections interfered—screen surfaces reflected mid‑high frequencies from speakers, creating peaks and valleys in the room’s frequency response. We had to reposition speakers in several rooms, sacrificing some visual symmetry for cleaner sound. For similar troubleshooting stories, see this article on Award‑Winning Bar Lighting Design: Debugging, Mishaps, and Unsolved Mysteries.
VYLEN technicians visited mid‑construction to help redesign the soft‑cover lighting layout, converting a plan that required new channels into an external lighting groove, saving three days of work.
Step 4: The “Late‑Night Closed Loop” Before Opening – After All Adjustments, the Scariest Thing Is Nothing Happening
Forty‑eight hours before opening, the team had been working almost continuously for 20 days, each person sporting dark circles. The final day was scheduled for full system integration and stress testing. In theory it was a routine walk‑through; in practice we didn’t know how many hidden issues remained.
Daytime went smoothly. The central controller responded correctly, all 36 rooms’ scene switches ran once, and average response time stayed under 0.6 seconds—barely acceptable. During the second round of checks at night, I discovered that in the second‑to‑last room, a “party mode” activation left one strip of lights dark. Opening the switch panel revealed a loose screw on a terminal block that had come undone during transport. This low‑level issue would normally be fixed in ten minutes, but everyone was exhausted and it took almost an hour to locate.
A bigger issue was scene‑switch latency. Stress testing showed that when multiple rooms switched scenes simultaneously, the central controller slowed down. Single‑room latency was 0.3 seconds, but eight rooms switching together pushed it to 0.8 seconds. If several rooms switched at the same time on opening day, the atmosphere would break.
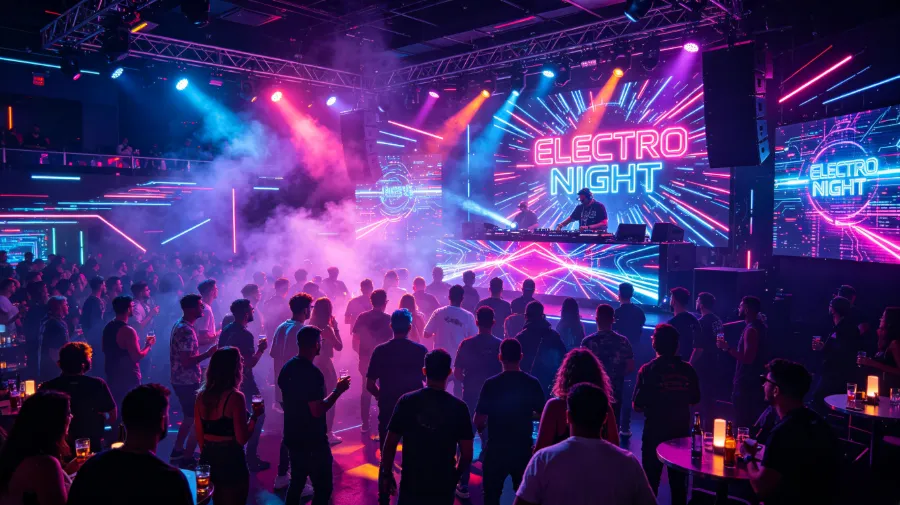
The team decided to overnight optimize the command‑queue logic of the central controller. We reordered all DMX commands in the scene presets, sending high‑priority commands first to reduce queue buildup. That night, the final room’s lighting scene‑switch latency improved from 0.8 seconds to 0.3 seconds, and the team worked until 4 a.m. When we left the site, dawn was breaking and the cleaning staff were already wiping the corridor glass. For more design thinking on commercial spaces, see the cases in Bar Design – SOHO Design Zone.
At 4 p.m. on opening day, the first wave of guests entered. I stood at the end of the corridor, watching them go into rooms, pull out phones, take photos, record videos, and post to social media. Only then did the weight on my mind finally lift. It wasn’t the perfect rendering‑style perfection, but the rhythm of lighting changes, the smoothness of flow, and the clarity of sound were all real results we fine‑tuned step by step.
FAQ
How long does the design cycle for a luxury KTV usually take?
From raw shell to opening, the standard schedule is 45–60 days. Early layout design takes about a week, lighting and acoustic work overlap for roughly three weeks, and final debugging and integration require at least two weeks. Our ceiling re‑work added five days, so we delivered in 62 days.
What’s the difference between a lighting system and ordinary illumination?
Ordinary lighting solves the “can you see?” problem. KTV lighting must solve the “emotion” problem. It uses DMX512 to control multiple fixtures in sync, supports one‑click scene changes, and assigns different atmospheric tasks to spotlights, wash lights, and LED color lights. Ordinary lighting doesn’t need this; a single switch suffices.
Which should be done first: acoustic treatment or lighting installation?
Theoretically, finish acoustic isolation first, then cut holes for lighting. In practice, both need to be designed and executed concurrently. It’s advisable to finalize all lighting positions and reserve conduits and lighting‑box structures before sealing the ceiling to avoid later rework.
How are room‑scene switching modes designed?
Each room has at least four modes: Sing‑along (main lights on, screen clear), Chat (low‑level ambient lights, warm tones), Party (spotlights full, color effects), Cleaning (full white light). Scene‑switch latency should stay under 0.3 seconds; anything above 0.5 seconds becomes perceptible to guests.
What should be considered for lighting maintenance after opening?
Inspect DMX controller terminals monthly to prevent loosening from vibration. Clean dust from LED heat‑dissipation vents regularly; dust buildup can cause overheating and dimming. Back up scene presets quarterly, as system upgrades can overwrite them.
Share Article